Run Tina Cloud Starter Locally
Initial Setup
In the previous step, you forked the tina-cloud-starter. Now, clone this repository and ensure this is your working directory.
Install
ℹ️ This project uses
yarnas a package manager, ifyarnisn't installed on your machine, open a terminal and runnpm install -g yarn
Install the project's dependencies:
yarn install⚠️ If you'd like to use
npmbeware that there is nopackage-lock.jsonso we can't guarantee the dependencies are the same for you.
Run the project locally
Copy the sample .env.local.sample file and run the local development server:
cp .env.local.sample .env.localyarn devIn your .env.local file
NEXT_PUBLIC_USE_LOCAL_CLIENTshould be set to1, other values can be ignored for now. We will start by investigating how TinaCMS works locally.
This command starts the GraphQL server and the Next.js application in development mode. It also regenerates your schema types for TypeScript and GraphQL so changes to your .tina config are reflected immediately.
One of the most interesting aspects of the TinaCMS Content API is that it doesn't actually require anything from the Tina backend to work locally. Since Tina is by default a Git-backed CMS, everything can be run from your local filesystem via the CLI. 😎
This is ideal for development workflows and the API is identical to the one used when working with the backend, so once you're ready to deploy your application you won't face any challenges there.
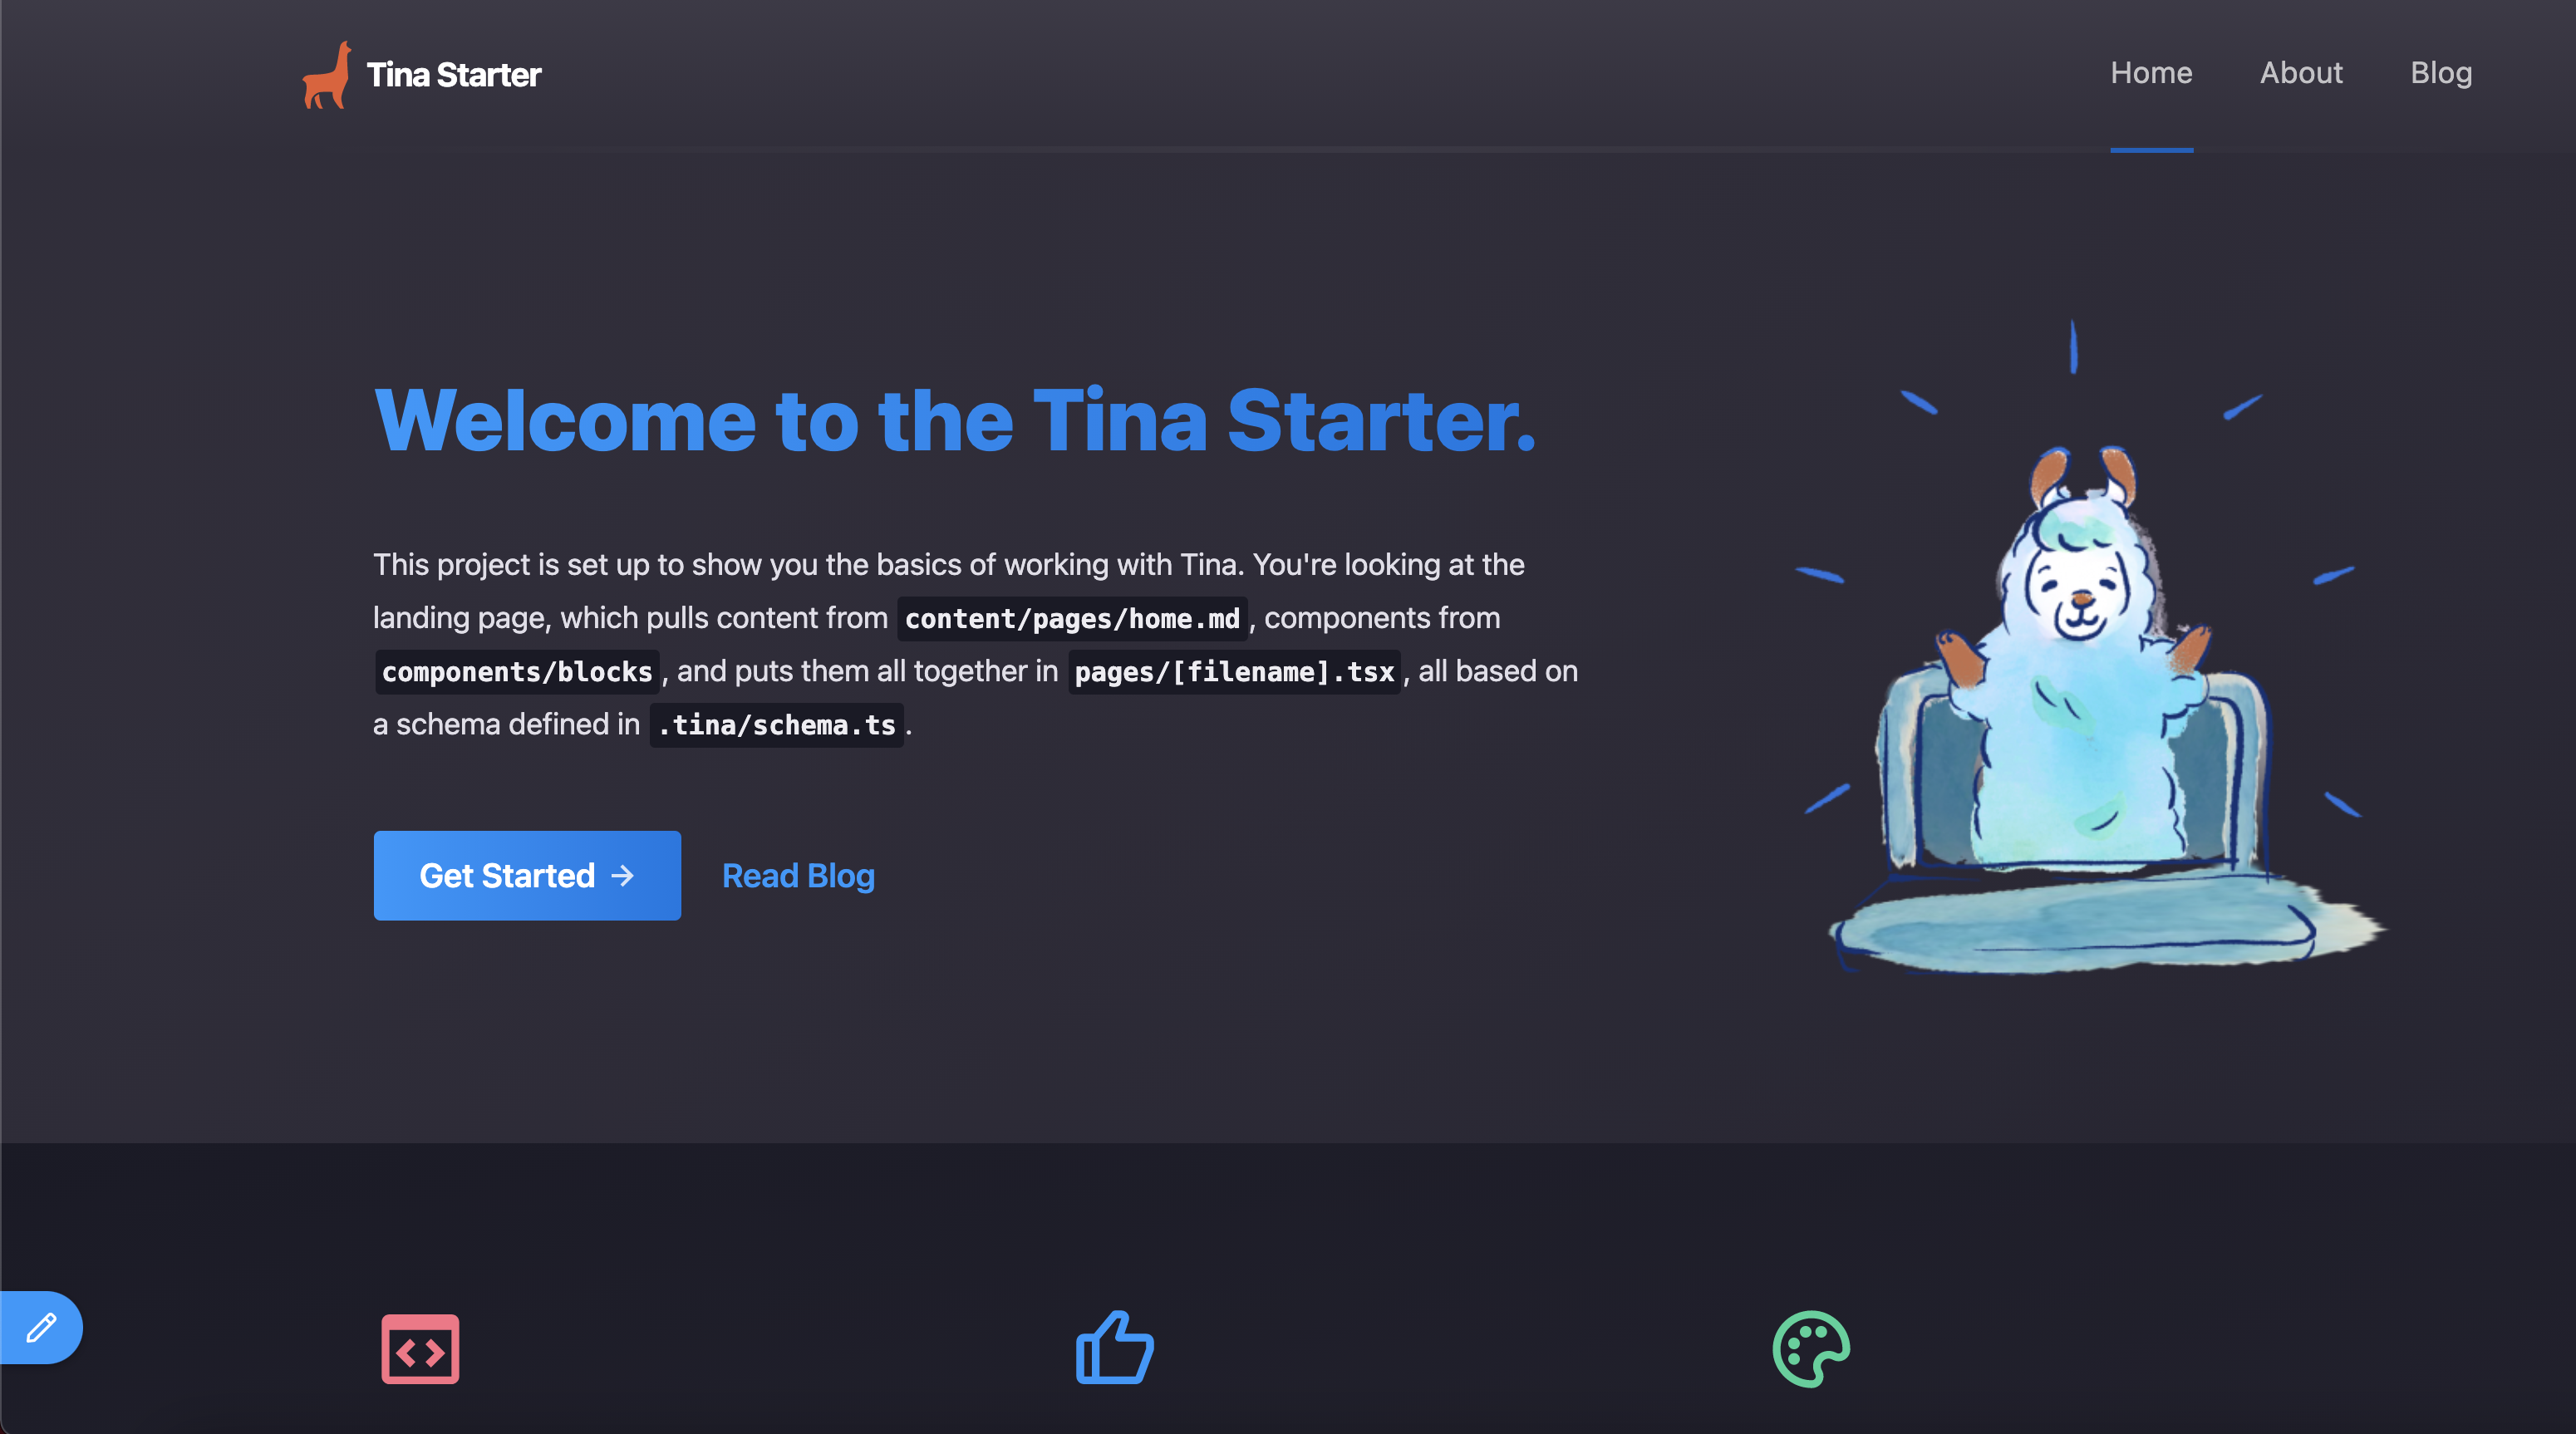
Open http://localhost:3000 in your browser to see your file-based content being loaded from the GraphQL API.
Edit content locally
Navigate to http://localhost:3000/admin to enter edit mode.
Click on the pencil in the lower left-hand corner to open Tina's sidebar which displays a variety of forms with fields you can edit and see updates live on the page. Since we're working locally, clicking save results in changes to your local filesystem.
Last Edited: July 23, 2021